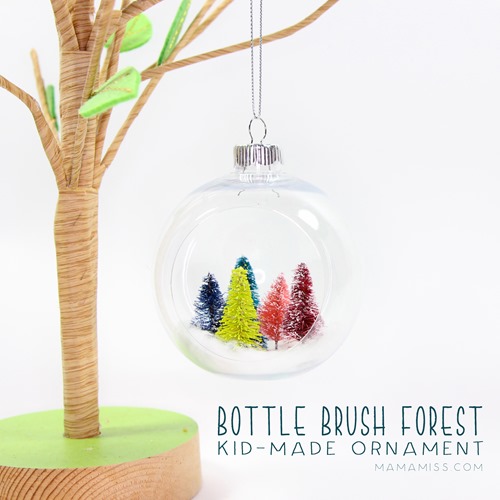
Hey there party people!! It’s that time again – the Kid-Made Christmas series kick-off!! And I’m kicking it off today with this super fun Bottle Brush Forest Ornament.
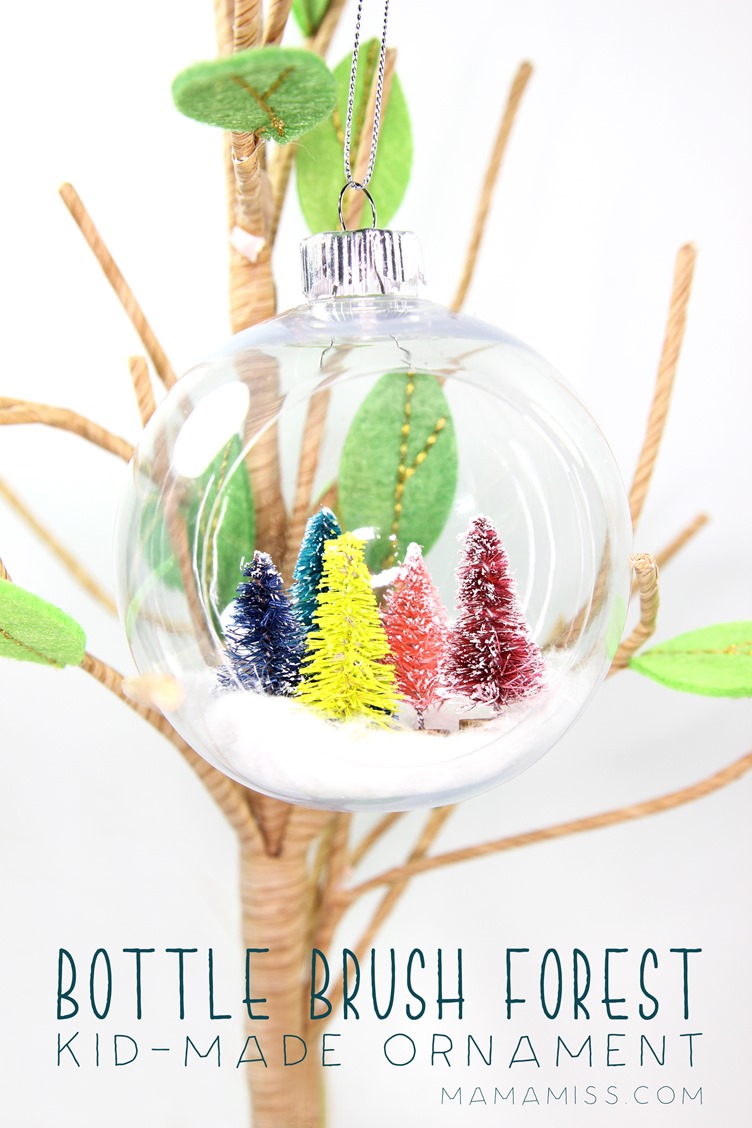
I just gave you a sneak peek of the great line up of bloggers we have signed up this year! I look forward to this series every year – I still can’t believe it’s year five of a Kid-made Christmas!
This year, like last year, and the year before, and the year before that, all of the Kid-Made Ornaments are inspired by children’s books! But the excitement gets even better – head over to Katie’s blog – Happily Ever Mom, where she’ll share the kick-off to the second part of the series – a kid-made gift.

Kiddo – check.
Craftin’ tools – check.
Let’s get to the kid-made ornament makin’, shall we?!
For the next 10 days, November 27th-December 8th, we will have several (50+) ALL NEW kid-made ornaments AND GIFTS! each day.
So, let’s get to it, shall we?!
Pick a Pine Tree
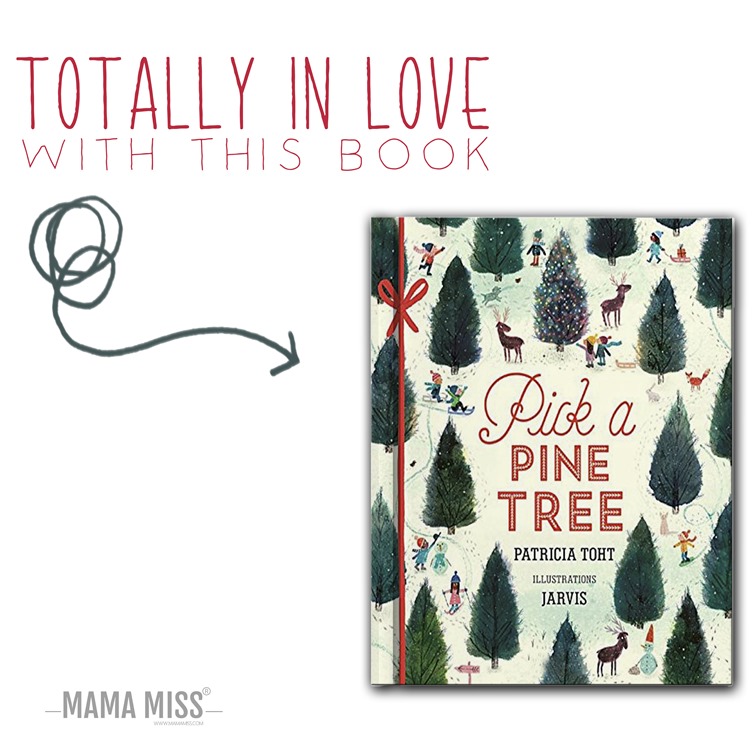
This year we were inspired by the beautiful children’s book Pick a Pine Tree by Patricia Toht. This book’s illustrations by Jarvis are so utterly gorgeous and beautifully quirky at the same time.
With style and warmth, this book evoke all the rituals of decorating the tree — digging out boxes jam-packed with ornaments and tree trimmings, stringing tinsel, and, at long last, turning on those twinkling lights. Joyously drawn and rhythmically written, this celebration of family, friends, and the holiday season is as merry as the tradition it depicts.
In making this ornament you really won’t have to “pick a tree” for your Bottle Brush Forest Ornament, you can place them all in :) So you know – this kid-made ornament is so effortlessly simple ANY kid can make it. I’m serious! It’s even perfect for those little kiddo crafty get-togethers right before the holiday – ones that all ages can join in & create their own little bottle brush forest – yay!
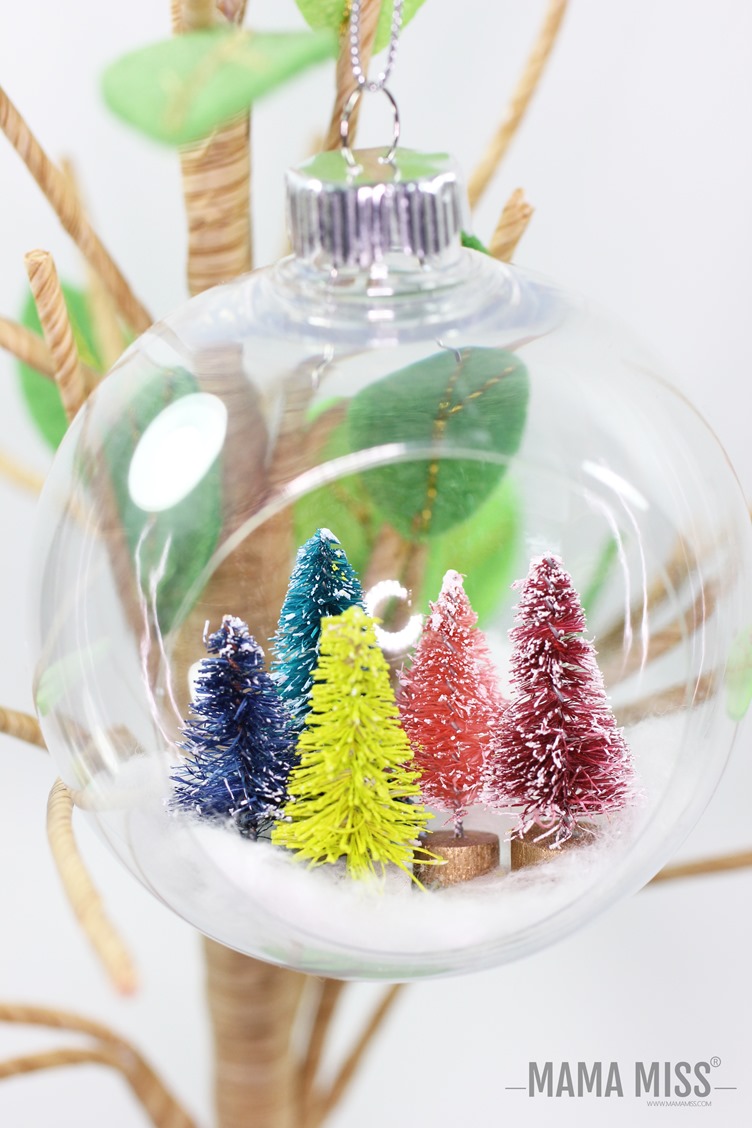
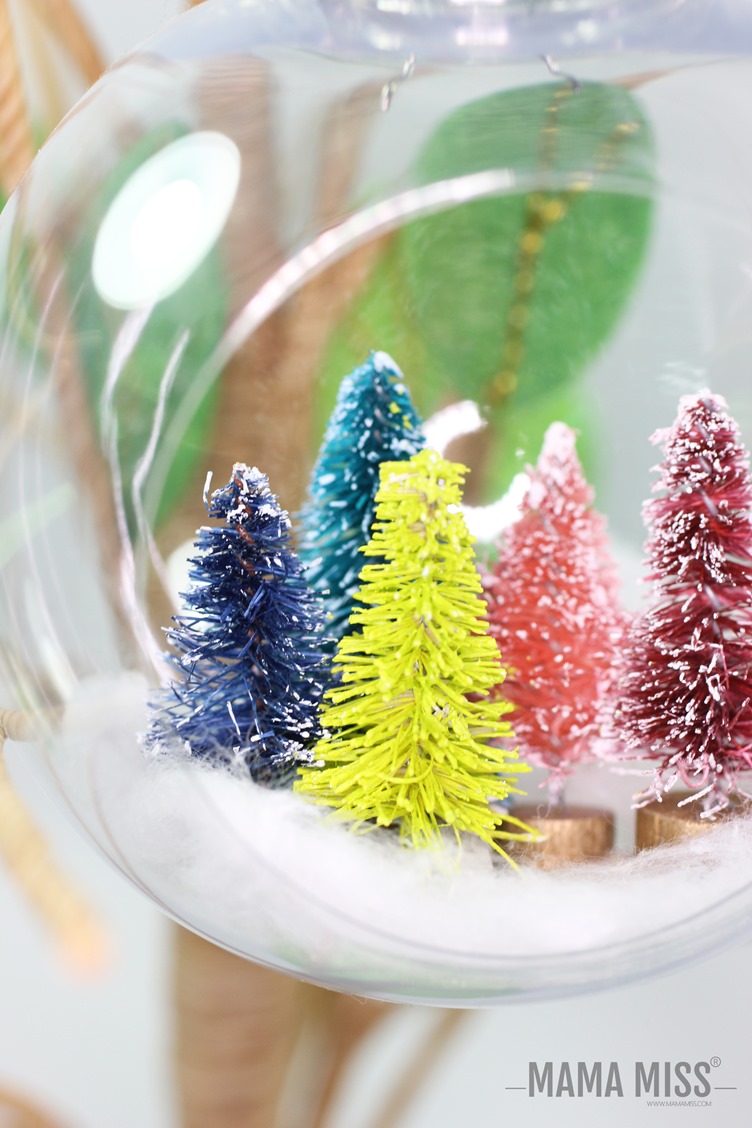
Bottle Brush Forest Ornament
Here’s what you’ll need:
- Clear Plastic Ornament Balls with an open front, or if those are sold out – these work, or you could also do glass ones too
- Forrest Green Mini Bottle Brush Tree
- Ash Blue Green Mini Bottle Brush Tree
- Pink Mini Bottle Brush Tree
- Mulberry Wine Mini Bottle Brush Tree
- Beige Mini Bottle Brush Tree
- 1 cotton ball
- Strong Bond Permanent Glue Dots
Here’s how to make it:
- Now, you can keep your “beige” mini tree beige, but I wanted more of a POP, so all I did was paint it with acrylic paint. With just a small paint brush and this acrylic paint you can quickly change the color.
- Place a strong bond glue dot to the bottom of the inside of the ornament. Stretch out a single cotton ball to make it look like a snow floor. Place it on the glue dot.
- Add a strong bond glue dot to each tree and arrange them amongst the snowy forest floor.
- That’s it – told ya it’s easy-peasy!
You can find the schedule here of what is coming each day and where I’ll also link the actual post up as they go live.
Join in
Here’s how:
- Create a KID-MADE ornament with your kiddos.
- Add the hashtag #KidMadeChristmas on Instagram or Twitter. I’ll be re-tweeting & re-gramming my favs for the rest of the series!
I can’t wait to see what ornaments you’ve been making with your kiddos!!!

INSPIRE OTHERS BY SHARING!!



Like what you see?!
You can connect with me on:
Pinterest || Facebook || Twitter || Google + || Shop
© Mama Miss. All images & content are copyright protected.
Feel free to share ONE picture and linking directly to this post for download.
Please do not copy directions, ingredients, or pdf files for your own website or Facebook page, visuals or words.
Copying my post partially, or fully, is strictly prohibited.
All work by Mama Miss is licensed under Creative Commons Attribution-NonCommercial-NoDerivs 3.0 Unported License.




Leave a Reply