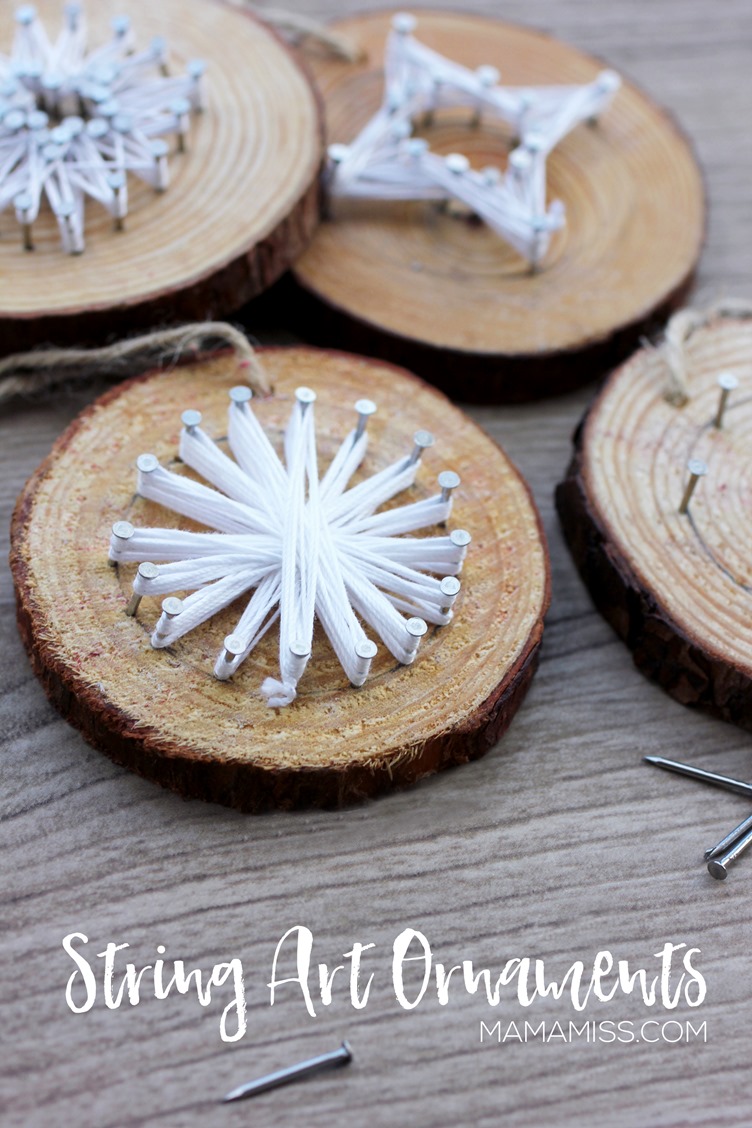
Hey there party people!! It’s that time again – the Kid-Made Ornament series kick-off!! And I’m kicking it off today with this super fun string art ornament.
I just gave you a sneak peek of the great line up of bloggers we have signed up this year! I’m so so excited, these kid-made ornaments are my absolute favorite every.single.year.
This year, like last year, and the year before, all of the Kid-Made Ornaments are inspired by children’s books!
So, grab your kiddo, and your kiddo’s favorite book, and let’s get to craftin’, shall we?!
For the next 10 days (kinda’), November 28th-December 2nd & December 5th-9th, we will have several (40+) ALL NEW kid-made ornaments each day.
So, let’s get to it, shall we?!
String Art Ornaments
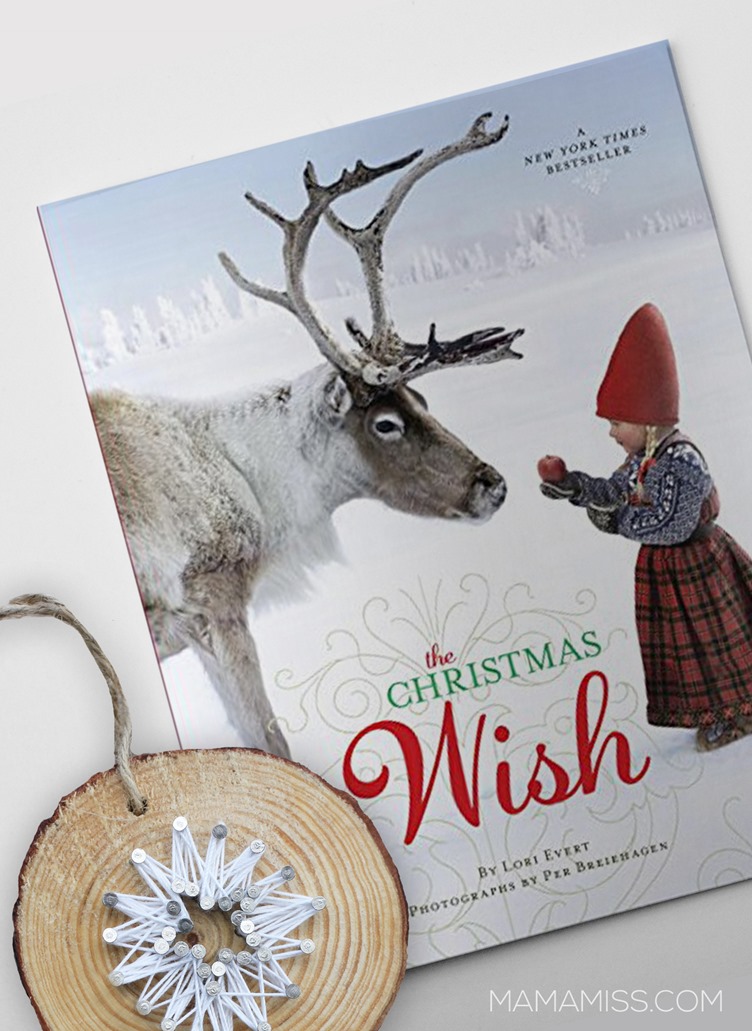
This year we were inspired by the lovely children’s book The Christmas Wish by Lori Evert. The book was so amazingly glorious – pages adorned with snowy mountain scenes and beautiful photography. Photography, which is not a normal aspect of children books is one of the amazing things to make this book stand out.
The story is all about the magic of Christmas…
Long ago, a brave little girl named Anja wanted to be one of Santa’s elves. So she leaves a note for her family and helps her elderly neighbor prepare for the holiday, then she straps on her skis, and heads out into the snowy landscape. From a red bird to a polar bear to a reindeer, a menagerie of winter animals help Anja make her way to Santa.
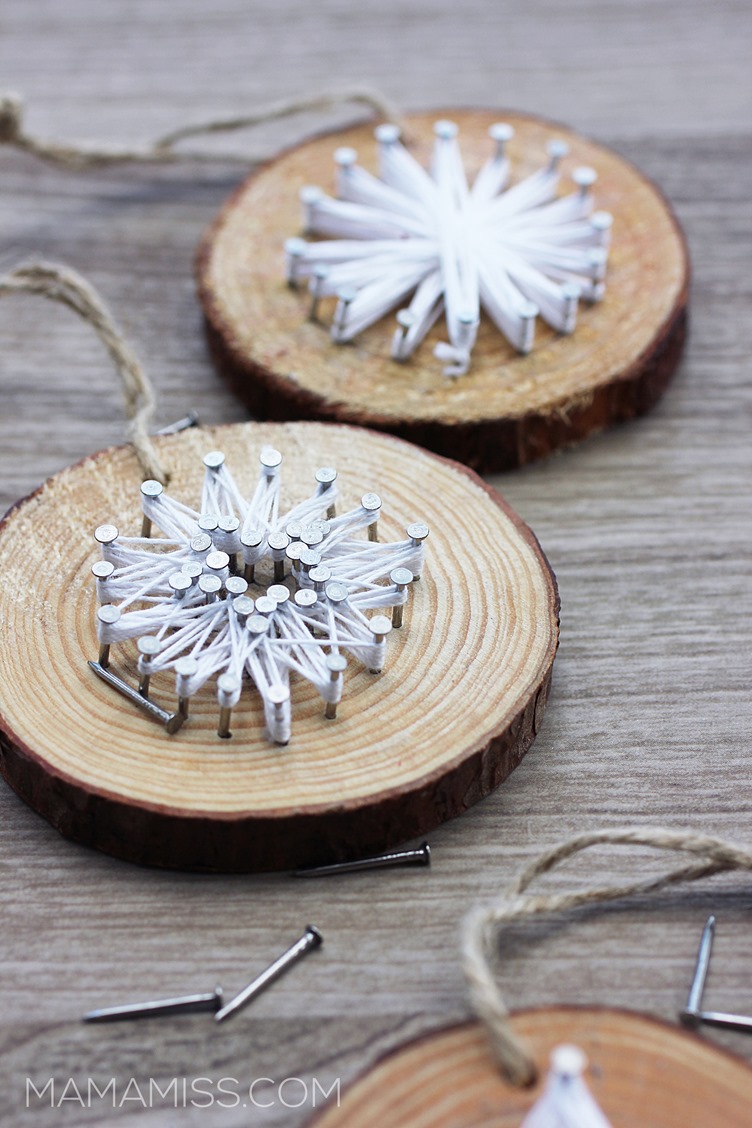
A month or so ago V & her girl scout troop started off their service project with nailing bottle caps to create some awesome collages. This gave me the confidence to try this ornament with V (7yo). Well, she LOVED it – we used all the wood slices that came in our little packet! Lol I need to go buy more now.
Here’s what you’ll need:
- Wood Slice Ornament
- Small nails (I used these)
- Small hammer (easier for little hands to maneuver)
- Pencil
- White #10 Crochet Thread
- The Christmas Wish book by Lori Evert

Here’s how to make it:
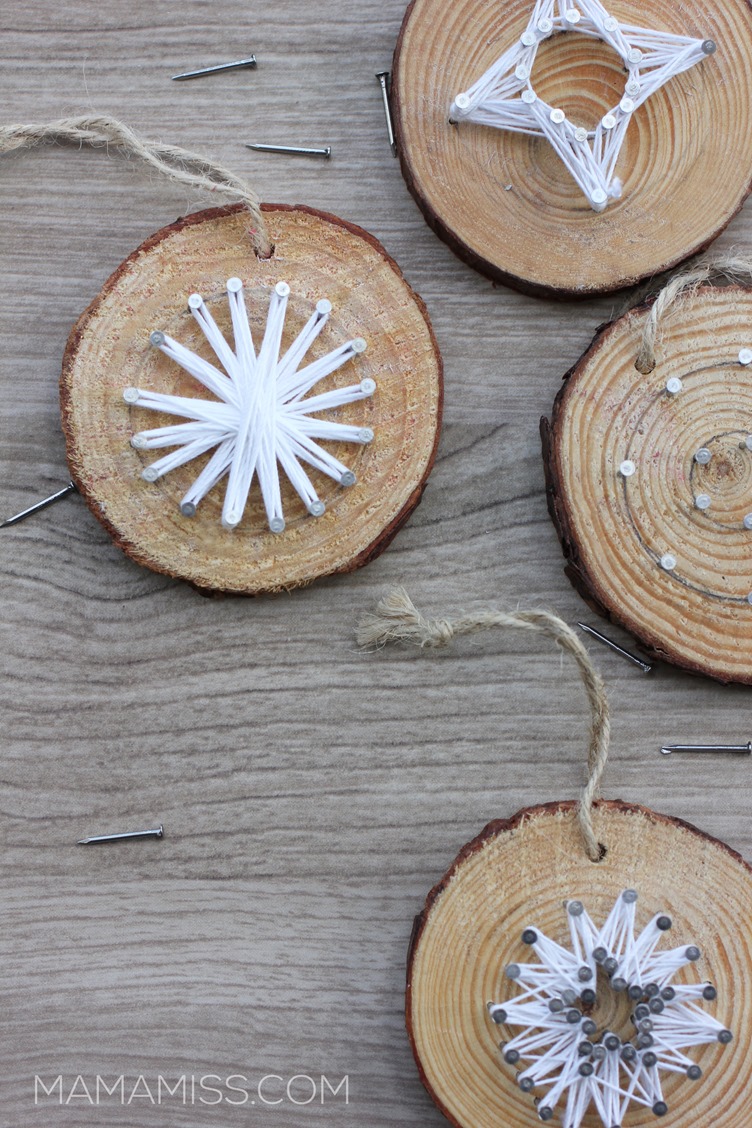
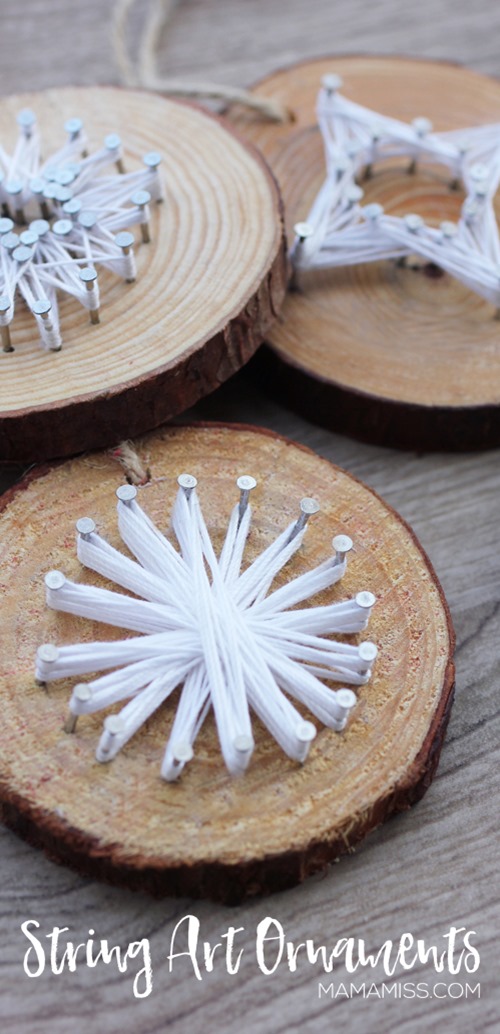
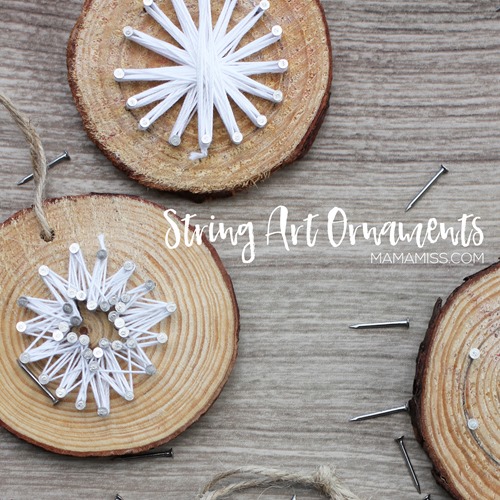
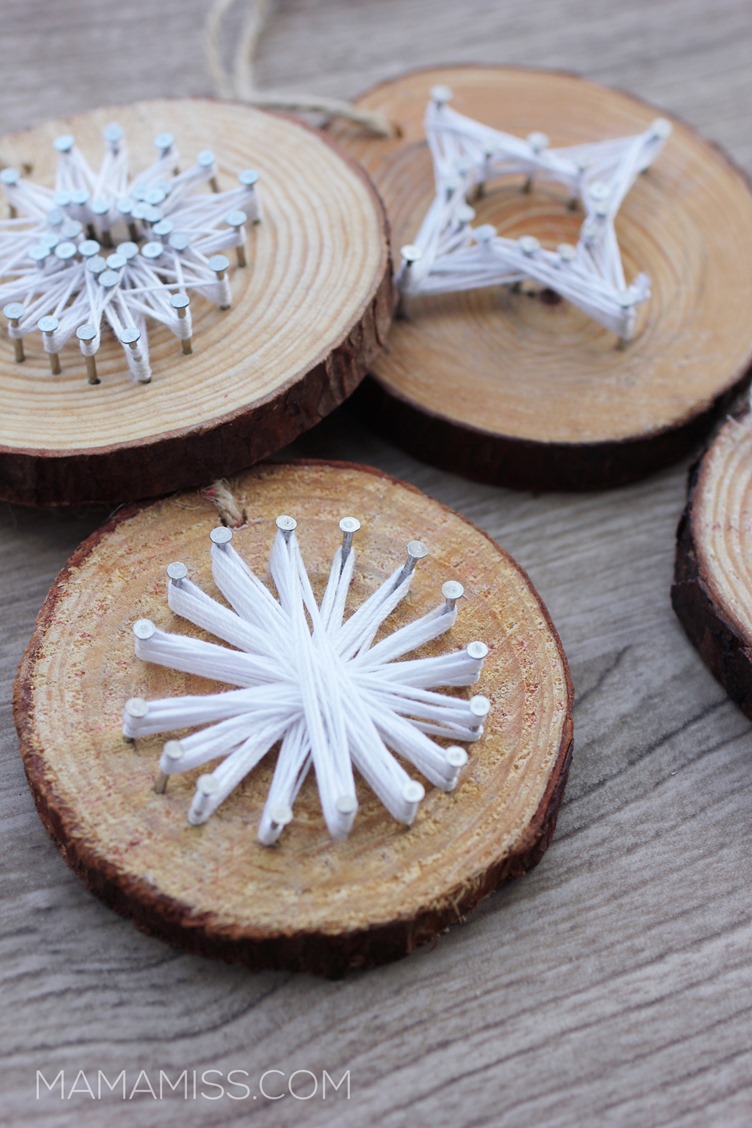
- Draw your shape(s) with pencil on your wood slice. We experimented with different ways of doing this – we winged it with circles & stars. Now you can just search on Pinterest for string art ideas if you’d like to get a little more complicated, like for older kids. But, since this was our first time we just loosely created with no pattern in mind. One of our participating bloggers from last year, Happy Brown House even did some fun ones too!
- Nail your shape.
- Double knot your thread to start.
- Wind your thread around your nails. We used super thin crochet thread because it reminded us of the snowy scenes in the book. But, experiment – try thicker thread, maybe even yarn. Try colors too – even a multicolored thread would be rad! There are so many ways to make these awesome creative ornaments.
You can find the schedule here of what is coming each day and where I’ll also link the actual post up as they go live.
Would you like to join in on the fun too?!
Here’s how:
I can’t wait to see what ornaments you’ve been making with your kiddos!!!

INSPIRE OTHERS BY SHARING!!



Like what you see?!
You can connect with me on:
Pinterest || Facebook || Twitter || Google + || Shop
© Mama Miss. All images & content are copyright protected.
Feel free to share ONE picture and linking directly to this post for download.
Please do not copy directions, ingredients, or pdf files for your own website or Facebook page, visuals or words.
Copying my post partially, or fully, is strictly prohibited.
All work by Mama Miss is licensed under Creative Commons Attribution-NonCommercial-NoDerivs 3.0 Unported License.



This makes me want to try making these ornaments again. You’re a good teacher. Thank you so much.