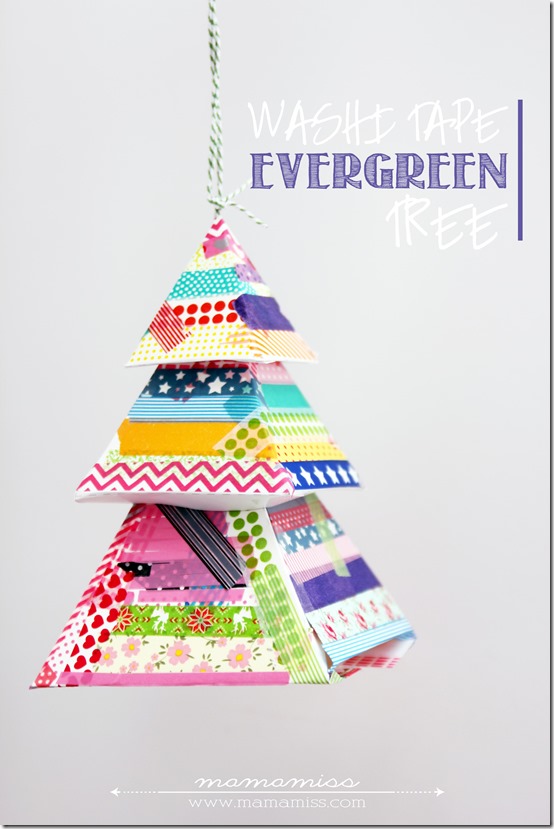
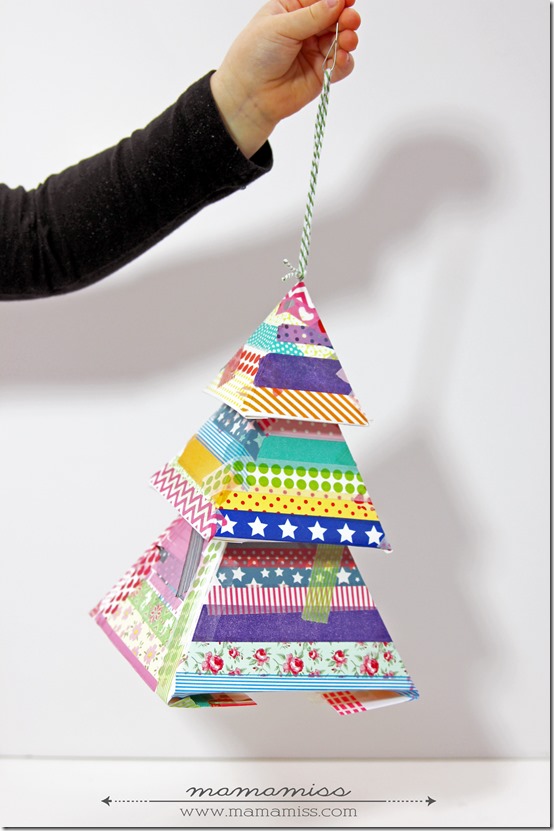
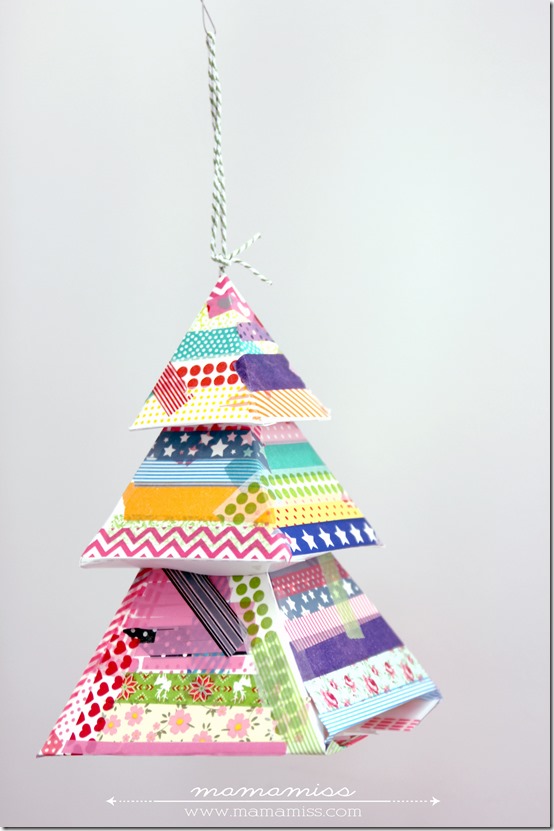
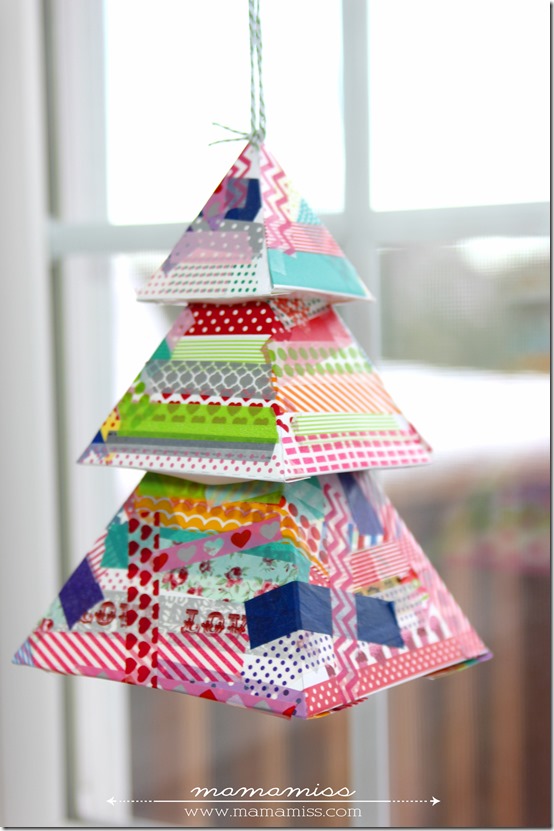
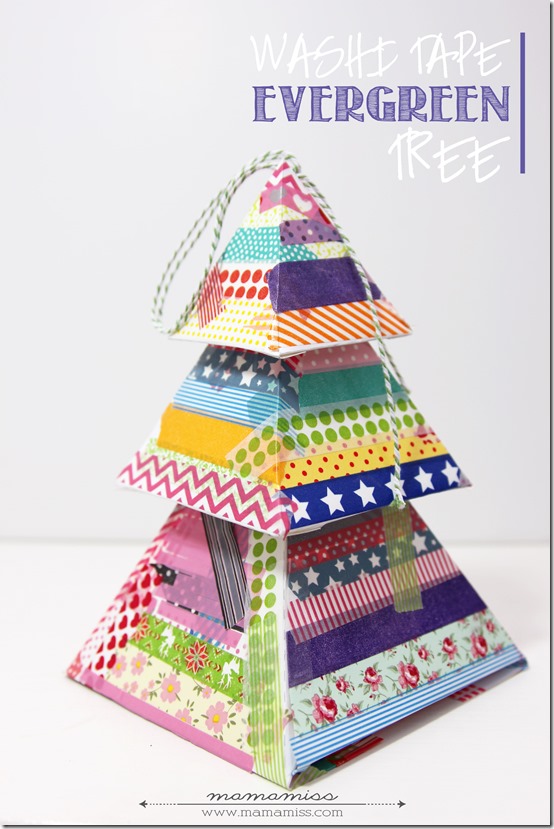
We love our washi tape, so much so, I will try to use it on everything possible! If it’s not nailed down it’s fair game ;) I’m so obsessed with washi tape, that sometimes I create entire crafts just for the sole purpose of using washi tape in a colorful way. hehe enter in our newest creation – washi tape evergreen tree! It’s colorful, it’s festive, it’s just plain fun! We had ours hanging in our sunroom as a decoration, but it has currently walked itself over (ummm a little miss V may have helped) to our Christmas tree and has become a super HUGE ornament. :) But it’s super cute all on it’s own too – you could do a little holiday vignette & have this in the center. Once fully constructed it measures approximately 23 inches in height and approximately 6 inches in width (at the widest part – the base). heehee told ya it was a big ornament ;)
Here’s what you’ll need to make it:
- printable tree parts (see below for printable)
- white cardstock
- bone folder
- assorted colors in washi tape (here are some pretty assortments
)
- scissors
- glue stick
- scotch tape
- twine
- button
Here’s how to make it:
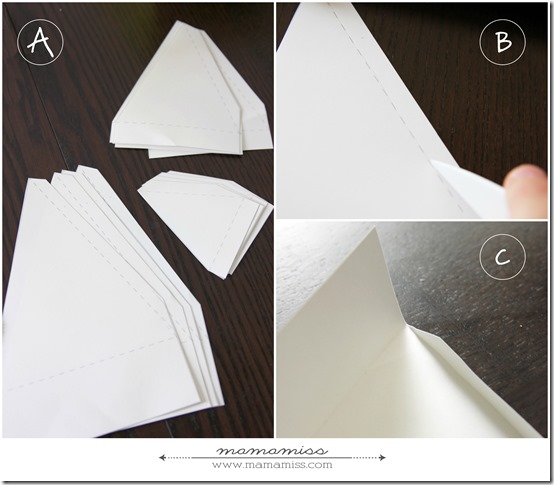
A) print out FOUR copies of the printable, cut out all TWELVE pieces
B) using the bone folder, score the dotted lines on all pieces (this will help to fold the cardstock easier)
C) fold all the pieces on the dotted lines
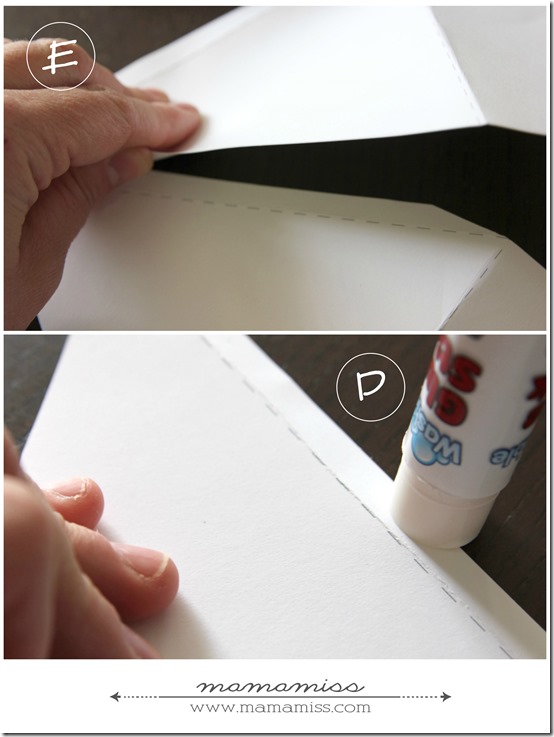
D) using the glue stick, apply glue to the folded edges
E) using four of the same size piece for each level, attach the pieces together
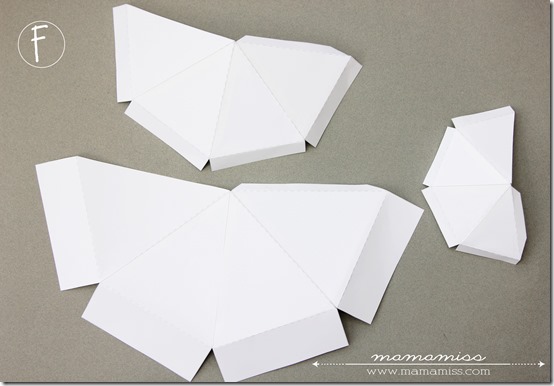
F) leave the last & final piece (that would create the completed triangle), on all three un-glued
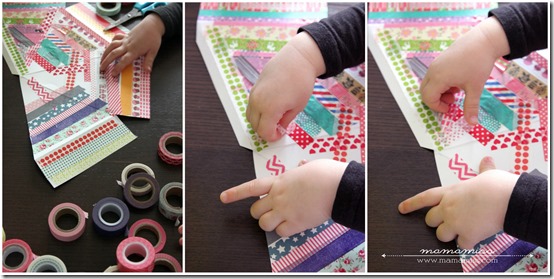
Now, while the three tree sections are flat, like in example F, add your washi tape to all three parts.
Have your little ones get colorful, overlap, and go in different directions with the tape. It’s about the process and having your little ones work those fine motor skills & having fun! I gave V the large bottom piece, T had the middle piece, & the top piece they worked on together. This is a great activity to occupy them for a while – if they are able to pull & rip the tape themselves this will keep them super busy for A.LONG.TIME!
Once they have finished washi taping, complete each triangle piece by folding them back to a triangle, and securing the final edge with tape
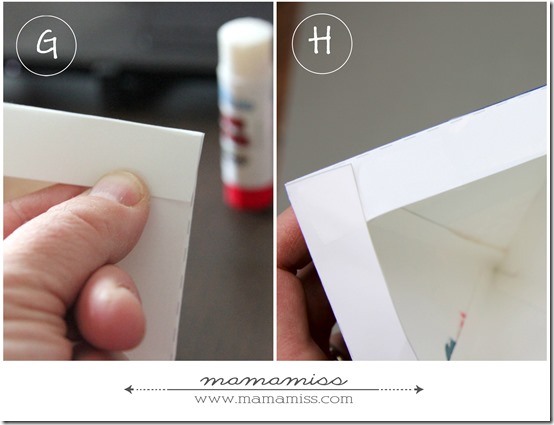
G) once folded into a triangle, attach together the folded edges on the bottom of each triangle
H) secure with glue and/or tape, do this for all three (this border provides a stabilizer between the pieces to hold them in place).
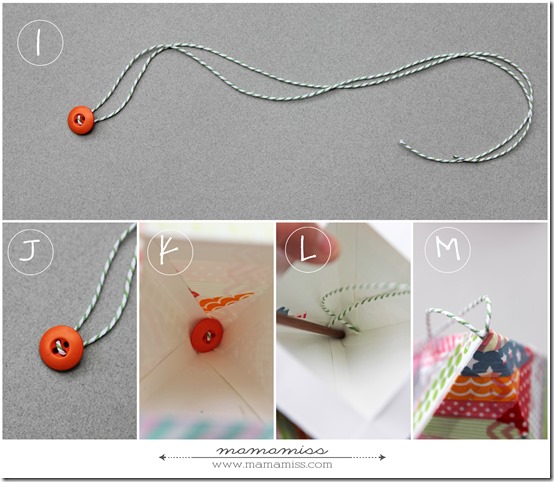
I) thread about two arm’s length of twine through the button J) like shown
K) starting at the bottom (largest triangle labeled C), push the twine through to the top of the triangle, securing the button in place
K) weave the twine through all three tree layers (piece C, then piece B, then piece A) (I used a chopstick to help me push it through)
M) complete the twine step with pushing it through the top tree tier & knotting a loop to hang
VOILÀ
♥

♥
Like what you see?!
You can connect with me on:
Pinterest|Facebook|Twitter|Google + too!
♥
© Mama Miss. All images & content are copyright protected.
Feel free to share one picture and linking directly to this post for download.
Please do not copy directions, ingredients, or pdf files for your own website or Facebook.
Copying my post partially, or fully, is strictly prohibited.
All work by Mama Miss is licensed under Creative Commons Attribution-NonCommercial-NoDerivs 3.0 Unported License.
♥♥♥




thanks a lot ! i shared the link here : http://www.pinterest.com/lemondedis/christmas-diy-tutoriels-idées-et-modèles/
I love this! So pretty! I’ve been looking for something fun to do with my little one on Christmas Eve. I think we’ll make one of these.
Thank you Ness!! xx
That’s cute.
Thanks Kimberly!! :) xx