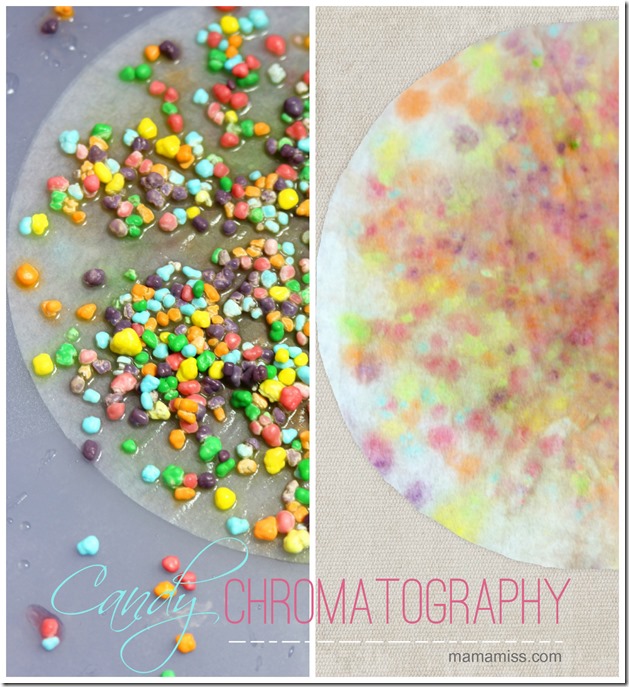
It’s science with candy today – wahooooo!
So, candy chromatography! It’s chromatography with candy!
But…I bet you are wondering…what is chromatography anyway?! Well, simply stated, it’s a technique for separating different substances. And those substances today are the candy and it’s dye.
We are trying our hand at paper chromatography – where our candy is dissolved with water and pulled across a piece of paper, and in this case a coffee filter. The candy mixture will separate because its elements will travel across the paper at different rates, based on their attraction to the paper or dissolving rate of the water. Inks and dyes, like those in candy are generally made up of a mixture of different colors. Chromatography is a process that lets you separate dye into its individual colors.
Let’s have some fun!!
Here’s what you need…and how to do this activity.

- plastic tray to keep all the water contained (we used these which I love for kiddo activities)
- one box of Nerds candy
(they worked best – we tried a few)
- droppers (we just got these
and LOVE LOVE LOVE them – perfect for little hands)
- coffee filters
- small bowl of water
- paper towels


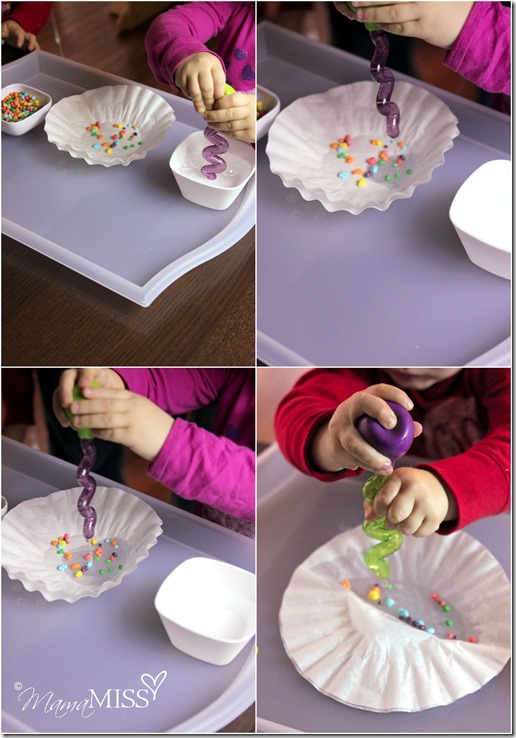
- Start by distributing the supplies to your child – use a double layer of coffee filters (two un-separated filters) for each child (the color seemed to hold better this way).
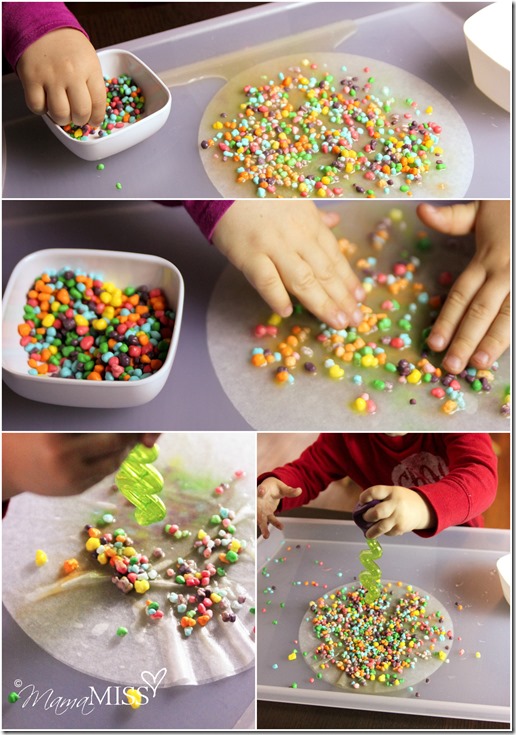
- Add a small amount of Nerds candy on top of the coffee filters.
- Using the eyedropper – have them place one drop of water on the candy. Add more drops, waiting about a minute between each drop. Add more candy and repeat.
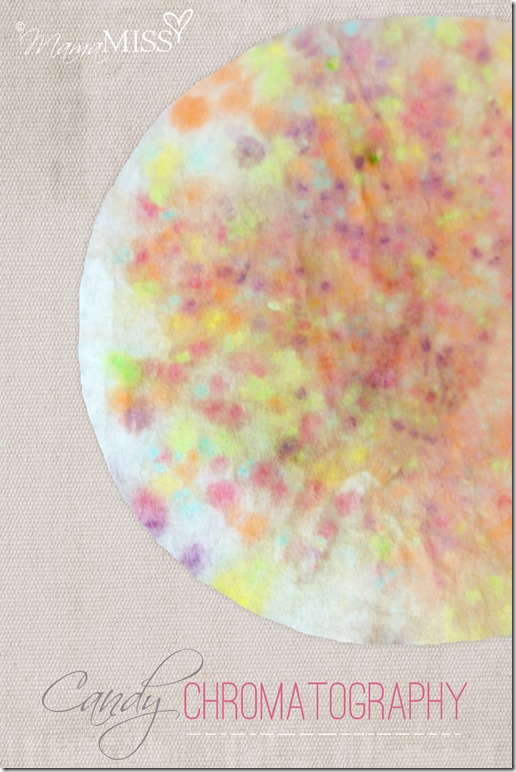
- The water dissolves the candy and as you add more drops the water moves across the coffee filter paper. As it moves it brings the different colors of candy with it.
- Once completed – toss the saturated & soaked Nerds in the trash and then lightly blot the filters with a paper towel. Hang to dry.
**tips for best results**
- use a double layer of coffee filters – more paper to soak up the water providing a brighter result – plus for every one your child makes, they are actually making two (once dry you can separate them & have two!).
- the LESS water you use, the brighter your final result will be (T used less water because it was harder for him to fill the dropper – in turn his final product was a brighter result than V’s, who SOAKED hers :)
- we tried with regular droppers first & it was a struggle with both kiddos – they used the water faster than they could fill it – getting very frustrated along the way. These droppers
are so fun and AWESOME for little hands – I wish I would have discovered them sooner!
- Nerds candy worked best. I LOVE the pointillism effect it added to the mix too! We tried skittles and spree too – both didn’t even compare to the colors & affect that the Nerds candy gave.
- USE A TRAY – there will be a TON of water – so thankful I did!!!!



♥
Make sure you swing by & check out all the other fun CANDY SCIENCE posts from these fab other bloggers today too:
Friday – Science
Balloon Experiments with Candy
♥

♥
Like what you see?!
You can connect with me on:
Pinterest|Facebook|Twitter|Google + too!
♥
© Mama Miss. All images & content are copyright protected.
Feel free to share one picture and linking directly to this post for download.
Please do not copy directions, ingredients, or pdf files for your own website.
Copying my post partially, or fully, is strictly prohibited.
All work by Mama Miss is licensed under Creative Commons Attribution-NonCommercial-NoDerivs 3.0 Unported License.
♥♥♥
Please note that affiliate links are also provided throughout the post for your convenience – to allow direct access to the products suggested.



Wow, I used to do paper chromotagraphy with my college students.
Great minds mom – great minds! :)
What an absolutely awesome way to experiment with candy! And such a beautiful product, as well. :)
Thanks Mary Catherine!! Glad you like it :) xx