This post is part of a paid campaign with American Crafts, but all opinions and ideas are 100% my own.
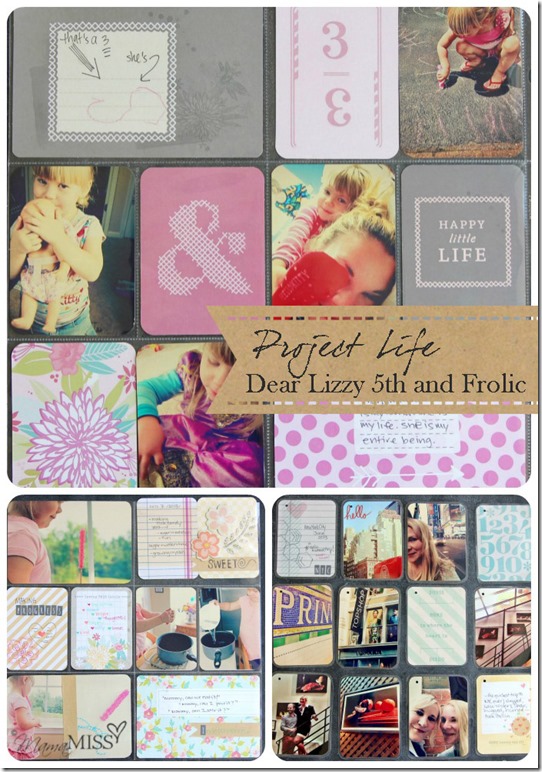
So, Project Life – WOW – just wow!! I’m a newbie to the Project Life fun and so far I am blown away by its complete awesomeness.
So, how does all this work? Well, you start with a binder, then some slotted page protectors, and then finally a Project Life core kit (these are the beautiful little cards that fit in the slots perfectly). It’s like the perfect scrapbooking combo – the neat & the creative. So, for someone with a creatively chaotic mind, anything that can organize that chaos is a PLUS! And speaking of creative juices – totally not necessary with Project Life. The creative team at Project Life has already created such a GORGEOUS product, that all you need to do is just add your story and photos to complete an album. Easy-peasy!
One of the beautiful new core kits, exclusively carried at Michael’s I might add (aka IMMEDIATE, down the street access for you & me), is the Dear Lizzy 5th and Frolic edition. Blown away friends, just blown away. For someone like me that has a thousand-billion (totally a number ;) ideas running through her head, I was at a standstill, a complete standstill. The package sat for days, while I just stared at it – perhaps waiting for my brain to explode with all the ideas. So many ideas, I had a hard time fine tuning what I wanted to do with all these stunning cards. The Dear Lizzy 5th and Frolic edition is totally girly and feminine – ahhh I heart it soooo much! Flowers, arrows, stripes, dots, chevron, notebook, chalkboard and stitching patterns – to name a few!!
Well, I went into two different directions with my inspiration. I have for you my first ever, two-page layout of where my Project Life journey will begin, and a little DIY memento of my recent solo mama trip to NYC, something fun just for me :)

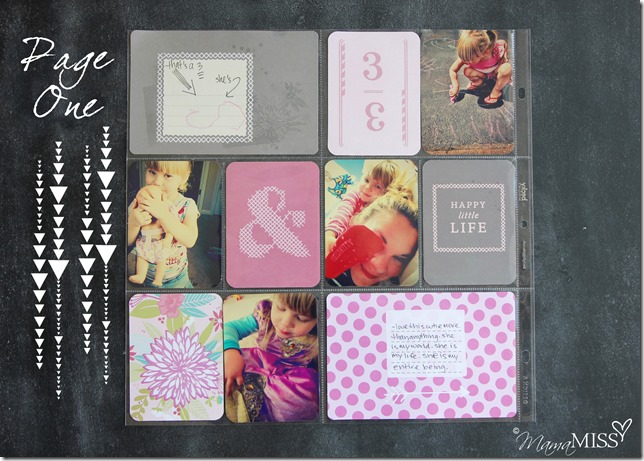
Page one is the epitome of “my page one”…my little V. My first born. She’s my mini me. She’s “fhree” – that’s “three” to all the non-preschoolers out there ;) She’s silly, smiley, drives me crazy most days (I need crazy, so it’s all good, we fit together well ;)…and soooo amazing, in every way! She’s a typical three year-old. Her day consists of learning, coloring, playing with her baby dolls, dressing up in princess gowns, and being silly.


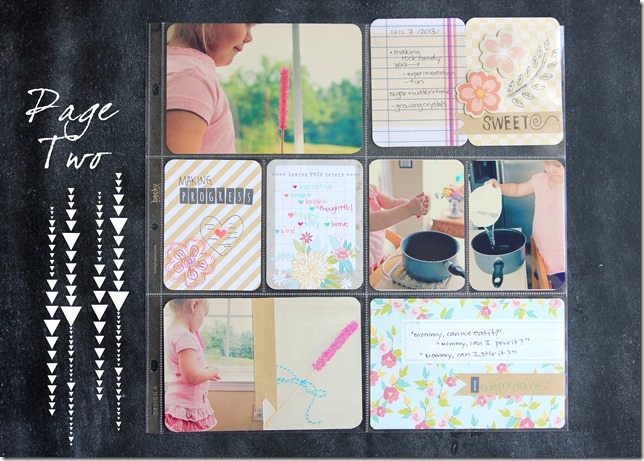
Page two is an extension of my little miss V, and all the fun we have together. One of the things she loves to do is help me in the kitchen, A LOT! She always wants to help with mixing and adding the ingredients :) For this layout, it was one of our many culinary adventures, making rock candy. A science lesson & it’s edible, in my book (and hers) that’s complete perfection right there! This experiment worked on patience (it took several days for the crystals to grow), listening (the pan was VERY hot when she added the food coloring), and following directions. When it was completed – she enjoyed every minute of it, eating it slowly, taking it all in :) Then she bounced off the walls for the rest of the night, cause folks – that was PURE sugar!


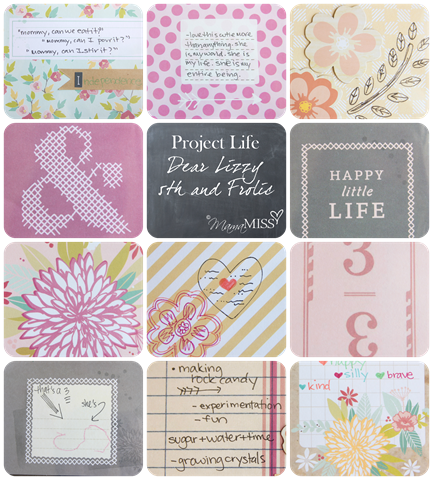
All the beautiful Project Life cards I used for this layout…

In June, my sister had a photography show in NYC. She was honored with a month long display at the James Beard House. I heart NYC! In my twenties, you know before kids, bills, etc. I used to go at least every couple of months and spend LOADS of money. I haven’t been since hubs & I were first dating – ha-ha it’s been a while! For this quick trip I went with my parents – bus style – IT TOOK FOREVER! But it’s all good, if I was there for longer I would have spent more money ;) It was basically 24 hours away from hubs & kiddos, but after the horrendous bus ride there & a long bus ride back, I was literally in NYC for like, 3 hours. lol! Oh well, ya win some, ya lose some. I was determined to make the most of it. As soon as we arrived I took the subway off by myself separating from my parents so I could make a quick detour to Soho & hit up a few shops. I then took the subway to my sister’s show in Greenwich Village. It was fun, quick, and just what this mama needed. Man, I love that city – it always makes me feel so alive!


And all the beautiful Project Life cards I used for this layout…
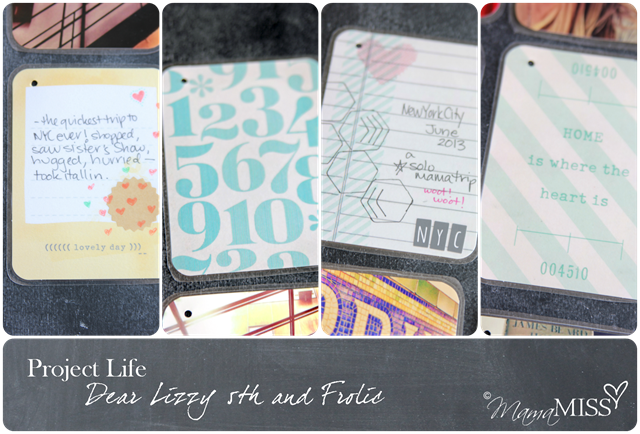
For the DIY memento project, I broke “out of the box” and decided to create a little something, just for me, to keep by my desk. I call it my “smile book”. If I just need a quick pick-me-up, I just grab it and look at my memories fondly. It’s not a conventional album, but it’s not supposed to be ;)
The tools you need for this DIY project, besides the core cards (and your pictures of course), are a mini hole punch, a laminator
, two lamination pouches
, scissors, a corner punch
, a medium book ring
and optional twine
accent. It’s really very simple :) First, decide your layout. Then, add your personal touch to the cards and photos with embellishments, quotes, stories, stickers, etc. I used twelve pieces, so with six per each lamination pouch, I laminated them, then cut them out and then used the corner punch to round the edges. I finished it off by punching a super small hole with my mini hole punch in the top left corner, then looped the book ring through and added a fun pink twine accent. And, voilà a perfect little memory of my solo mama trip to NYC.
Well, I don’t know about you, but this kit is so fantastic – the yummy pastels, the distressed vintage feel, the girly-ness – why, I think I need the other one too! I gotta have a little T album as well, am I right?! You can’t forget about little T! The other kit, like this Dear Lizzy 5th and Frolic edition, is made exclusively for Michaels, a fabulous store that has one of the biggest selections of Project Life products, including these exclusive kits. Well, it screams ALL BOY to me, there are little vintage airplanes and trains, with blues and greens, and it’s called Crate Paper Vintage Travel. You can see Project Life’s preview here or you could just hop in your car & check it out at your local Michaels Store today!
♥

© Mama Miss. All images & content are copyright protected.
Feel free to share one picture and linking directly to this post for download.
Please do not copy directions, ingredients, or pdf files for your own website.
Copying my post partially, or fully, is strictly prohibited.
♥
Please note that affiliate links are also provided throughout the post for your convenience – to allow direct access to the materials used.
What a great way to preserve those precious memories. It inspires me to dig into my hard-drive where all my photos are just sitting there! Thanks so much for sharing!
Thanks Christine!! So glad you like them! Believe you me I still have a billion photos on my hard drive, but at least I’m starting to head in the right direction in preserving them better…baby-steps :) xx
Love love love! Yours turned out fab! I am new to project life too and I LOVE IT! I WAS a scrapper and this is so much better and way easier.
So cute!
Thanks Ginger!! Love yours too!! :)