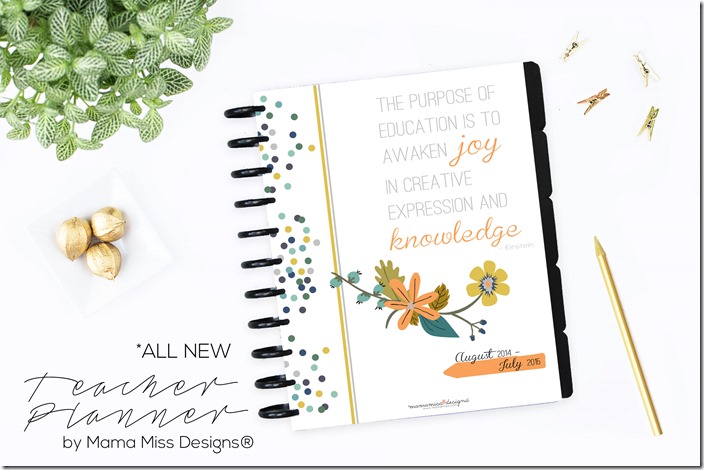
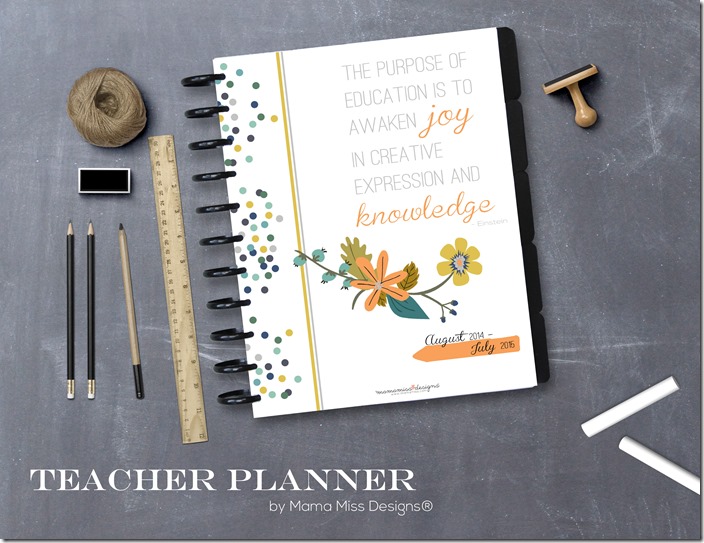
eeeek I am so so so excited about this you guys!! It’s here – a couple of months in the making – my newest baby!!! oooohweee I really don’t know which is harder – creating actual babies –or creating my planner babies?! ha-ha just kidding ;) And, I have to give a huge MEGA thank you to my teacher friend April, who helped me every step of the way in creating this massive 2014/2015 teacher planner!
So, I’m working with & trying out a bunch of new tools that I will most likely roll out with the other planners too!! This time I decided to find an at home binding system that allowed me to customize it more, and to remove & add pages – the one drawback to the planners of the past.
For this 2014/2015 teacher planner, my 1st preference, and what I would recommend, would be to try out the system I’ve started to use, the disc binding system :) Alternatively you can have it bound at your local office store (my 3rd preference), or 3-hole punch it & toss it together into a 3-ring binder (my 2nd preference). I’m not really a 3-ring binder kinda gal – I don’t like the abrupt, clunky, chunkiness of it all.
![]()
Create the 2014/2015 Teacher Planner!
// supplies
- 1 pack of 1-1/2 inch expansion discs
– I used black, but you can always upgrade to the fancy-schmancy aluminum discs
too ;)
- 2 translucent covers
(one for the back & one for the front)
- regular paper punch
or if you didn’t want to go all out just yet, there is the portable punch, which isn’t as costly
- 23 tab dividers
(more or less depending on how you set up your planner) – I used black to match my discs, but there are multicolored
, vivacious
, & white
too.
- 5 sheet protectors
or dual pocket dividers
to place behind your professional development logs to keep track of the accompanying paperwork
totally optional, but I splurged a little for my new planner baby, on these other accessories that work with the binding system ;)
- zip pocket
– for receipts, post-its, etc.
- small neoprene zipper pocket
– I thought it was the perfect size to add to the front of the planner to throw my flash drive, SD card, & phone in.
- bookmark with page flags & arrows
Now, if you decide to bind it the ol’ fashioned way – just bring it to your local office supply store & have them bind it for you. Or just slap the parts into a large, probably 2-inch or bigger, 3-ring binder. Except for the expansion discs – you’ll still need the dividers, sheet protectors
, punch
, & binder
for the 3-ring style… and the dividers and sheet protectors for the store bound style.
How you design it is up to you – that’s the beauty of it – and why I like the binding system – it’s totally customizable!
// tips
- Print on heavier weighted paper, I prefer to use Staples brand 98 bright, 32 lb paper
, it has a smooth, thick texture & makes a nice weight for the planner.
- If you will be going to an office store to have the pages printed it out – be sure to bring this print release form with you.
- I adore these Staedtler Triplus Fineliner Pens
– they don’t bleed through the heavier weighted paper & are perfect!
// includes
So what will you get with your Teacher Planner purchase?
- Instructions on how I put my teacher planner together
- NEW FEATURE!! Immediate access to a virtual flipbook – every.single.page. – so you can see it in action!
- 64 original pages (a whopping 371 pages if put together completely!), including:
- cover page
- year-at-glance 2014
- year-at-glance 2015
- perpetual calendar July-December
- perpetual calendar January – June
- side-by-side, 2-page student roster
- class roster transportation
- student birthdays
- student allergies
- AUG 2014 – JUL 2015 monthly cover sheet (12 individual months)
- AUG 2014 – JUL 2015 monthly calendar (12 individual months)
- AUG 2014 – JUL 2015 weekly calendar (12 individual months)
- weekly calendar with time slots
- weekly lesson plan – style 1
- weekly lesson plan – style 2
- to-do list
- lined notes
- seating chart
- student checklist – 20 students
- student checklist – 12 students
- parent contact log
- password tracker
- wish list
- professional development log
- meeting notes full page
- meeting notes half page
- substitute teacher information
- take home student information sheet
- 2” and 3” spines for binders – style 1
- 2” and 3” spines for binders – style 2
// price
A whopping $8!
Really! All that for $8 – she must be crazy – oh yeah I may just be a little crazy, but it’s okay, it benefits you ;)
// how to get it

♥
Like what you see?!
You can connect with me on:
Pinterest || Facebook || Twitter || Google +
And don’t miss any updates…
♥
© Mama Miss. All images & content are copyright protected.
Feel free to share ONE picture and linking directly to this post for download.
Please do not copy directions, ingredients, or pdf files for your own website or Facebook page, visuals or words.
Copying my post partially, or fully, is strictly prohibited.
All work by Mama Miss is licensed under Creative Commons Attribution-NonCommercial-NoDerivs 3.0 Unported License.
♥♥♥





You have made my dreams come true. Thank you so much Melissa!!!
Thank you April!! xx