Kool-Aid Dyed Pasta
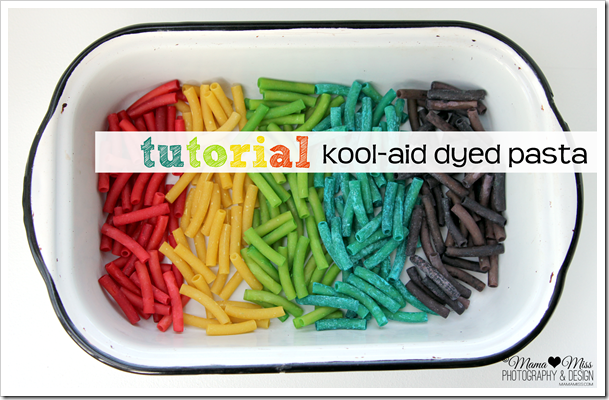
Like the rice, dyeing pasta with Kool-Aid is quite similar. If I haven’t convinced you by now in using Kool-Aid as a dyeing technique, here’s another tutorial to sway you ;) (you can also check out these tutorials on making Kool-Aid dyed rice & Kool-Aid dyed play-doh).
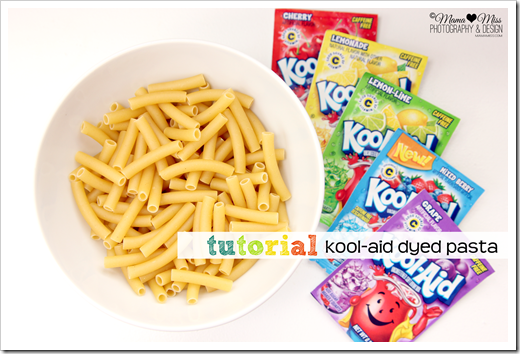
As noted in the Kool-Aid dyed rice tutorial, make sure when you are determining which color to dye the pasta, look at the picture on the front of the envelope (of the liquid in the cup that Mr. Kool-Aid is holding, NOT the color of the envelope – the color of the drink in the cup is the dye color).
So here’s the process & what you will need to dye pasta with Kool-Aid:
Ingredients/tools:
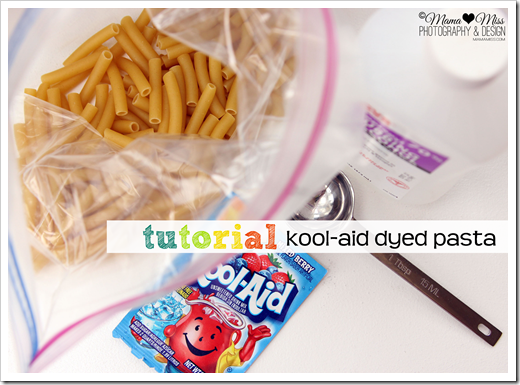
- Gallon-Size Freezer Bags (use the freezer ones, they are thicker & easier to shake the mixture with)
- Tray (for drying overnight)
- Foil (for the drying tray – so it stains the foil, not your tray!)
For each color/freezer bag of pasta, you will need:
- 1 cup of white pasta, any shape (just the basic, cheap 99 cents box is perfect…the fancy pasta, like zucchini, tomato, or whole wheat flavors won’t dye the same way)
- 1 tablespoon of rubbing alcohol (I used 70%)
- 1 packet of Kool-Aid
Here’s how it all goes together:
- Open your freezer bag nice & wide, and stand it up.
- First, add the cup of pasta.
- Next, add the packet of Kool-Aid .
- Lastly, add the tablespoon of rubbing alcohol .
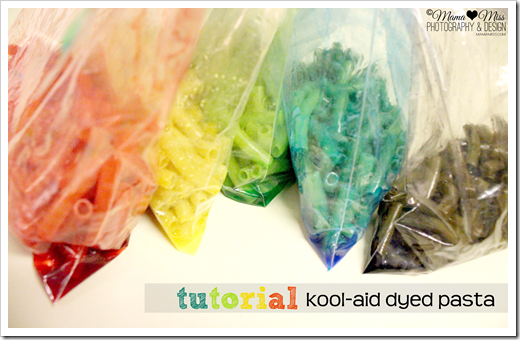
- Seal the bag shut and shake, shake, shake it up (this can be a fun part in the process for the kids to do, too!)
- Let it sit for a good 15-20 minutes so the color gets nice & strong.
- Pour it out onto a tray & get it as flat as it will go so that you can dry it overnight (or for at least 6-8 hours).
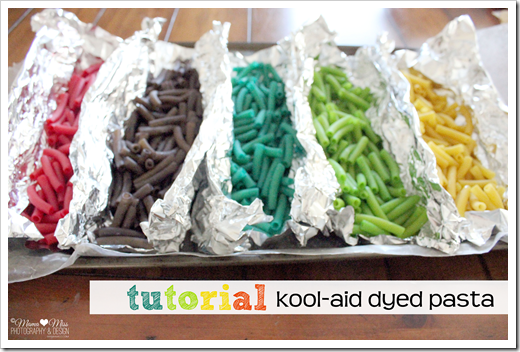
- I usually make little tin foil boats (like the pic below) in the tray to separate the colors & it looks soooo pretty, too!
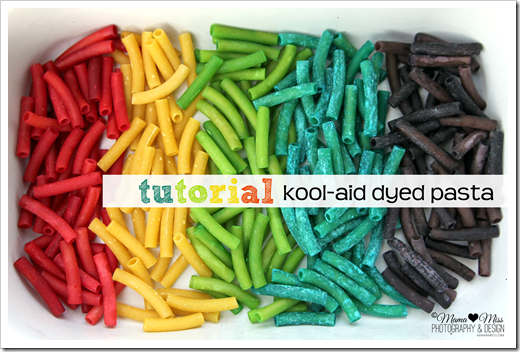
- When it is dry it will be all clumped together; separate the pasta (note – more drying time may be needed if after separating it there are still wet sections).
(NOTE – this pasta is NOT edible – it is for crafting purposes only!)
Next on the docket…activities for your beautiful brightly dyed pasta…stay tuned :)

♥
Do you like what you see?!
You can also connect with me on:
Pinterest || Facebook || Twitter
♥
© Mama Miss. All images & content are copyright protected.
Feel free to share ONE picture and linking directly to this post for download.
Please do not copy directions, ingredients, or pdf files for your own website or Facebook page; visuals or words.
Copying my post partially, or fully, is strictly prohibited.
All work by Mama Miss is licensed under Creative Commons Attribution-NonCommercial-NoDerivs 3.0 Unported License.
Can you speed up the drying process by putting them in a single layer in the oven at the lowest setting?
hmmmm probably?! I think that sounds like a great idea Gina! Let me know how it goes, because I’ll be definetly trying that next time :) xo
Thanks for your tutorial! I used them to make a bin full of colored pasta for my prek students! I linked to your instructions on my Blog.
Thank you!!! So fun – I bet they loved it :) Thanks for linking to me & checking it out! xx
Just out of curiosity, do you know what percentage your alcohol is? I followed your directions, but my colors did not come out nearly as vibrant. I think my alcohol percentage might be too high.
Hey Jessica! I just looked at the bottle (sorry I didn’t add that to the post – updating it now :) – mine was 70% alcohol. I hope that helps! xx ♥ m