Let’s do some stained glass today – kiddo style – with tissue paper!

Since we really can’t arrange small pieces of glass to form patterns or pictures for this project, you know, because this is kiddo style and all – let’s use another form, tissue paper. This is a really simple activity and doesn’t require much to make it happen. I’ve also included a free printable to make 2 butterflies :)
This is what you will need:
- the printable below
- laminator
- scissors
- X-ACTO knife
- clear contact paper
- tissue paper
- double stick tape
This is what you will need to do to make them:
- print out the butterfly printable
- laminate the printable (you don’t necessarily have to laminate it; I just wanted it a little sturdier for hanging)
- cut small squares of tissue paper (the sizes don’t need to be exact, and the squares don’t need to be perfect, it looks better messy)
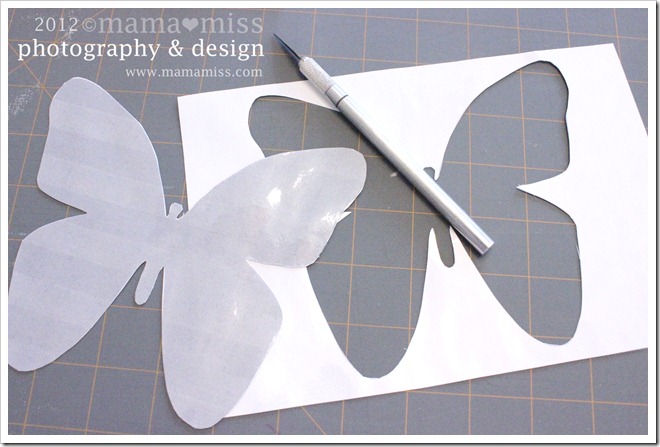
- using the printable, cut on the line between the butterflies with scissors, separating them
- using the X-ACTO knife, cut out the center grey butterfly shapes (like the pic)
- cut out 2 squares of contact paper for each butterfly square, matching the individual square sizes
- remove the backing and place 1 square of contact paper on one side of the butterfly square (the empty butterfly center will be sticky)
- now you are ready for the “kiddo part” :)
- have the kiddos stick the tissue paper squares on the exposed contact paper in any fun way they want – they can stick them one by one or they dump the entire bowl on top :)
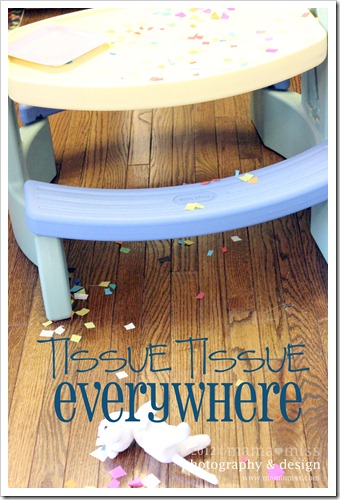
- next shake off any loose tissue paper pieces
- seal off back to contain tissue paper squares with 2nd piece of contact paper
- using double stick tape – add to your window :)

(click on the button for a printable PDF file)

Terms and Conditions
The above post allows a free printable PDF download; you will need Adobe Reader to do so. It is free to download at Adobe’s website here.
Please read here before you download any of mama miss’s PDF files…thanks, man!
![]()

(Visited 24,498 times, 3 visits today)


Totally awesome. I just picked up some contact paper for a project just like this! Thanks for the great printable and Thanks for linking up at Mom’s Library!
Thank you! And thanks for the feature too!! (I’m a little behind this week in responses :)
Also, thanks for hosting such a great link up! I’ll be heading over soon to link up :)
xx ♥ m
Ooo & forgot to let you know I am stopping by from True Aims Blog Hop!
Thank you!! :):)
xx ♥ m
This is so cool!
Thanks!!! Headed over to you now to check out your site too!! Thanks for popping by :)
xx ♥ m
What a great project! I love that you included the printable so that everyone can try it out. I look forward to trying this with the babies when they are a little bigger. I just got a laminator and I enjoy it so much. I imagine you could laminate it after they decorate it too so you could keep it long-term. Thanks for linking to Artsy Play Wednesday on Capri + 3.
: 0 ) Theresa
Wow Theresa, that’s a great idea!!! Hadn’t thought of that – another thing to laminate now ;) Thanks for stopping by & leaving some comment love too!
xx ♥ m
So pretty. We did this in art class in junior high. I made a horse with his head sticking out a barn door. And I loved it. Thanks so much for sharing this at the All Star Block Party!
Thanks! And thanks for stopping by Holly!
haha I love it – do you still have it? That would be great if ya did! :)
xx ♥ m
Oh, I totally love this craft. My kids would love this. Love the photo of the debris – little pieces of paper everywhere…sigh… Thanks for sharing! Renee
Thanks Renee!! :) Some more butterfly fun today!!
xx ♥ m