So, Freezer Burritos, but why? Well, I am fairly new to the whole freezer meal thing, but I am fairly confident that this may be a new way to go…for monetary purposes & easiness because these Freezer Burritos are so incredibly yummy.

I ended up with 30 Freezer Burritos!
Why would you want 30 Freezer Burritos one might wonder? Why, indeed!
-
- A friend who just had a baby so she didn’t have to cook.
- A friend whose husband is out-of-town so she didn’t have to cook
- Me…who definitely doesn’t want to cook – HA!
The final reason is REASON ENOUGH I say!
Well lo & behold here are the deets, peeps… (yes, I just said deets & peeps-I AM A 30ish SAHM & I OWN IT!)
I set up the crock pot the night before (well, really, the early morning of…you see my night usually ends at around say 2am…so you may just want to do it in the morning…you really don’t have to stay up super late like me just to make this recipe, I promise :)
Okay, let’s get started, there are 4 parts to this…making the refried beans, making the spanish rice, putting the burritos together, and then storage.
Making the beans…
Fat-free Refried Beans
Ingredients
- 2 lb. dry pinto beans (about 5 c.), rinsed and drained (I don’t soak them before the crockpot – just rinse & drain out of the bag)
- 1 medium yellow onion, finely chopped
- 8 cloves garlic, crushed in garlic press
- 3 T. cumin
- ½ T. dried oregano
- ½ T. paprika
- dash of cayenne pepper
- 12 cups water
- 4 t. salt
Directions
-
- In large crockpot (when I say large, it has to be at least 5 quarts or more – mine is a 5 qt. crock pot, because it will fill it almost completely to the top), place all ingredients except salt.
- Cook on high 5-6 hours or on low, overnight, for 8-10 hours, until beans are very tender, adding water to the crockpot as needed to keep beans covered (this is where nursing comes handy, because I was already getting up during the night to feed T, why not check on my beans?)
- After the beans are very tender and done, ladle out about 3 to 4 cups of the cooking liquid from the bean mixture and reserve it for later.
- Add the salt to the bean mixture and stir to combine.
- Mash the bean mixture with a potato masher.
- Depending on your individual preferences for the consistency of the beans, this is where you want to add the reserved liquid from earlier if you need to.
- Taste it…not enough salt?? Then add more! :)
Making the rice…
Spanish Rice
Ingredients
- 2 cups white rice
- 4 cups water
- 1 10oz. can diced tomatoes w/green chilies (I used Rotel)
- 2 T. Goya Recaito (a cilantro cooking base)
Directions
-
- Put all of the ingredients in the pot.
- Bring the pot to a boil.
- Once boiling, reduce heat, cover pot, and let simmer for 15 minutes.
- Remove from heat and let stand covered for 5 more minutes.
- Remove cover, stir & fluff.
Put it together…
Okay…are you ready to roll (literally & figuratively) tehehe…I crack myself up ;)
you will need…
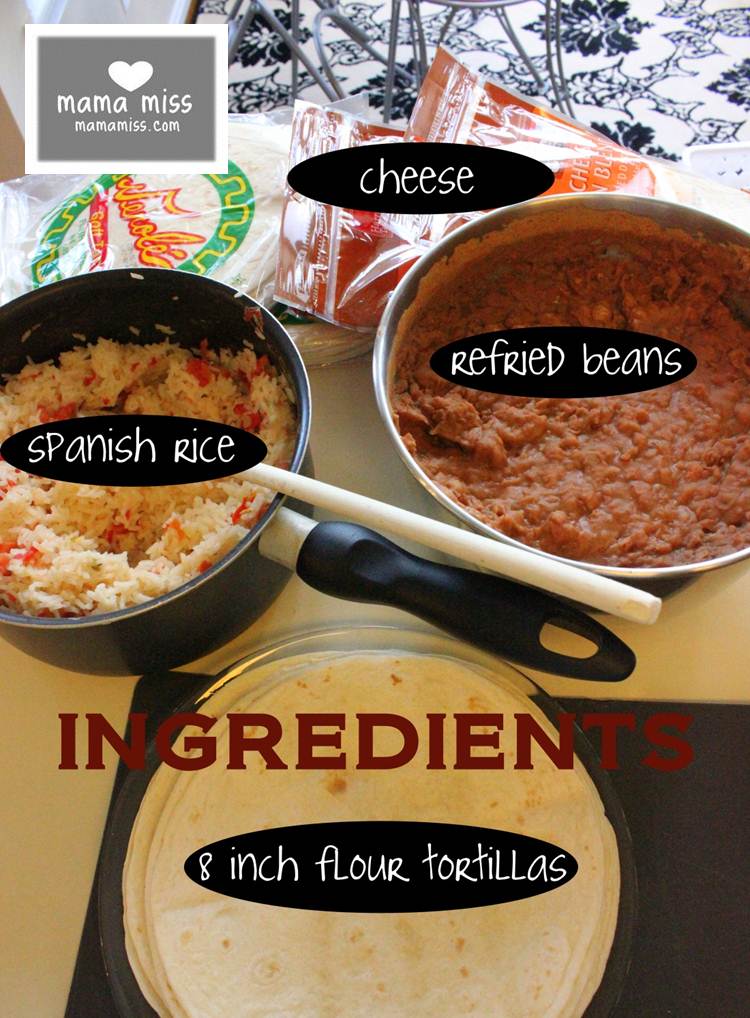
- 30 (8 inch) flour tortillas
- 3 bags of mexican shredded cheese (it breaks down to the complicated math of one bag per ten burritos – I’m a genius!…if you want more…then by golly, add more!! whatever your little heart desires)
- 30 sheets of foil, approximate 12×12 squares (if you want to be all technical and such)
- spanish rice
- refried beans

Start by pre-heating the tortilla’s in batches of 5 in the microwave for about 30 seconds so that they are soft and will not break when you try to roll them.
Next, stack your foil in a pile like so:

Then, place your tortilla’s onto the foil and proceed to layer the refried beans, then the rice, and then the cheese, onto the flour tortilla (or into your mouth, whichever is easier, like so:

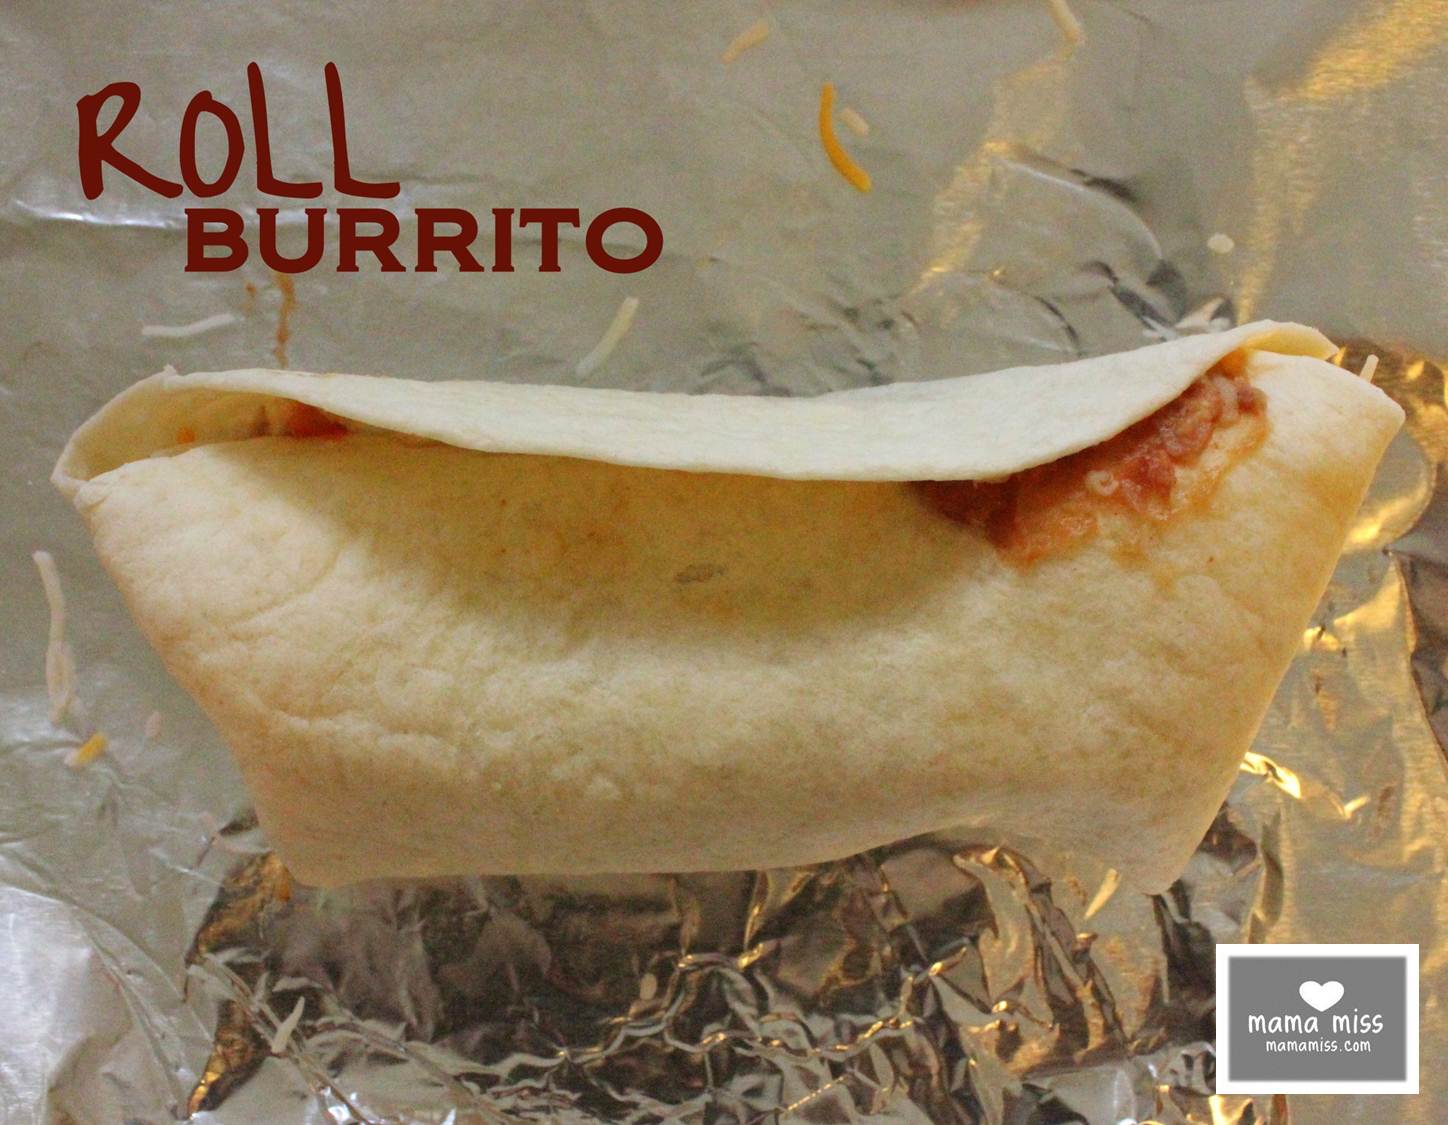
Then, roll the burrito (you know the ones that didn’t proceed to your tummy) like this:

Lastly, roll the burritos in their individual foil squares and then group in freezer bags (helps in preventing freezer burn) to place in your freezer. They will keep in your freezer for up to 3 months, see reheating instructions below.
You’ve made it!

Happy burrito-ing (is that a word?) It is now :)
Adapted from Frugal Find.

♥
Like what you see?!
You can connect with me on:
Pinterest || Facebook || Twitter
And don’t miss any updates, get new posts right away – sign up here…
♥
© Mama Miss. All images & content are copyright protected.
Feel free to share ONE picture and linking directly to this post for download.
Please do not copy directions, ingredients, or pdf files for your own website or Facebook page, visuals or words.
Copying my post partially, or fully, is strictly prohibited.
All work by Mama Miss is licensed under Creative Commons Attribution-NonCommercial-NoDerivs 3.0 Unported License.


How do you think these would turn out using black beans in place of the pinto? I have a TON on hand, and was thinking I’d just replace them in the recipe???
Not sure Brenna?! I’ve never tried them that way – but it doesn’t hurt to try – I’m all for using what’s on hand & cleaning out the pantry!! Let me know if it turns out yummy!! xx
These were yummy! Thanks for the recipe. Just as a warning though, the beans prepared this way were very hard on our tummies (gas). I think soaking the beans before cooking would help with this.
Awesome – great suggestion Rachel – thank you :) xx